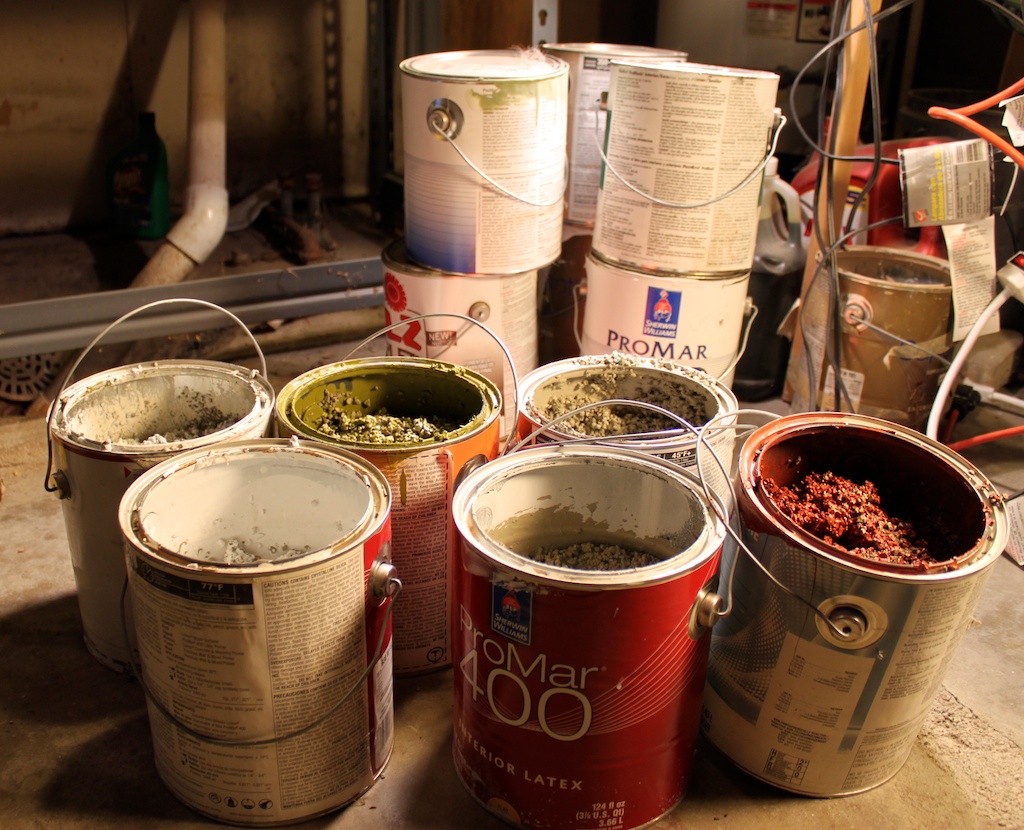
How do I get rid of old paint?
There are several ways to dispose of old paint, whether by using it up, giving it away, or drying it up. Learn more in this article.
There are several ways to dispose of old paint, whether by using it up, giving it away, or drying it up. Learn more in this article.
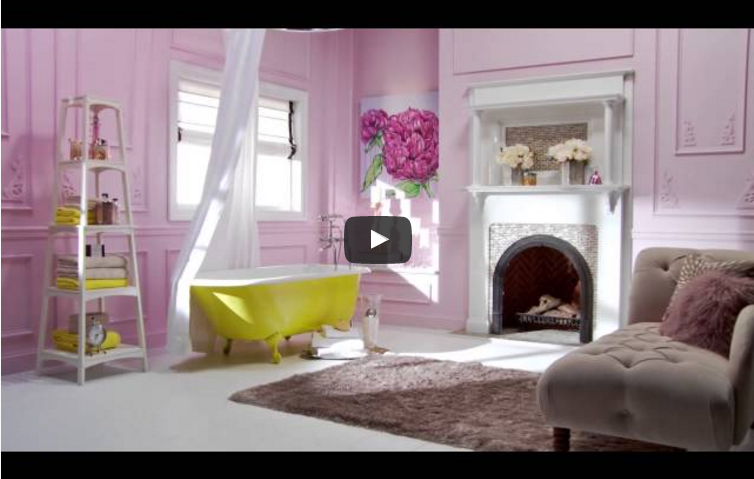
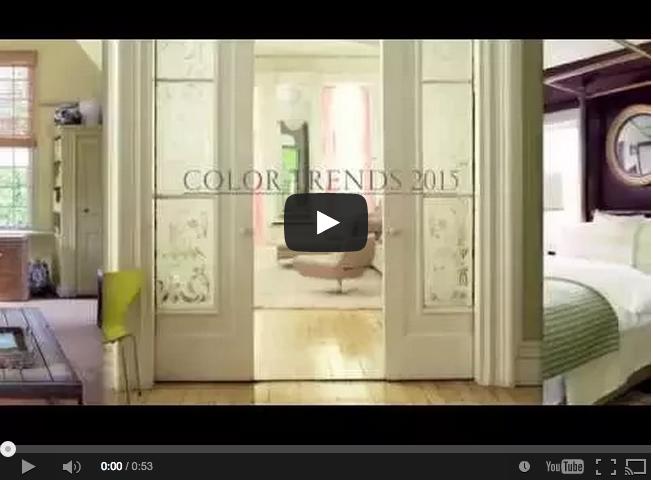
From the good folks over at Behr. Check out the 2015 Color trends.
Color Trends 2015 celebrates the concept of monochromatic color with a neutral that is a natural.
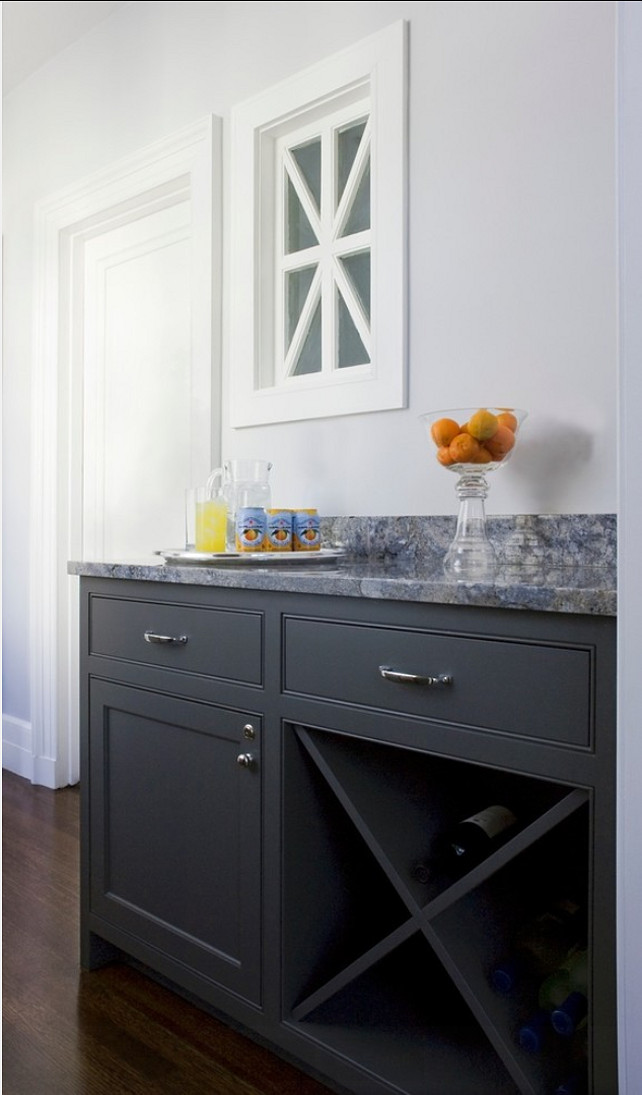
If you are looking for an amazingly neutral grey for your kitchen cabinets or walls. Look no further. This grey looks amazing in any environment.
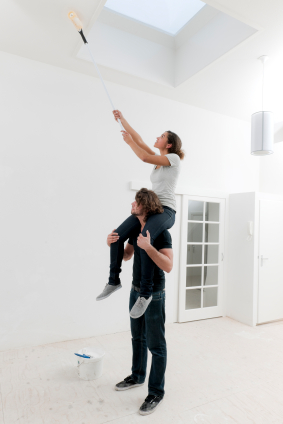
We know that hiring a painting contractor isn't always the best option. If you are going to paint a ceiling yourself, here are a few tips from the professionals at Dukes Painting and Repair.
Through our research and travel across the globe in search of the Color Trends 2015 collection, four color families emerged suggesting bold and confident color choices. Discover the berry paint color collection.