· painting_tips · 4 min read
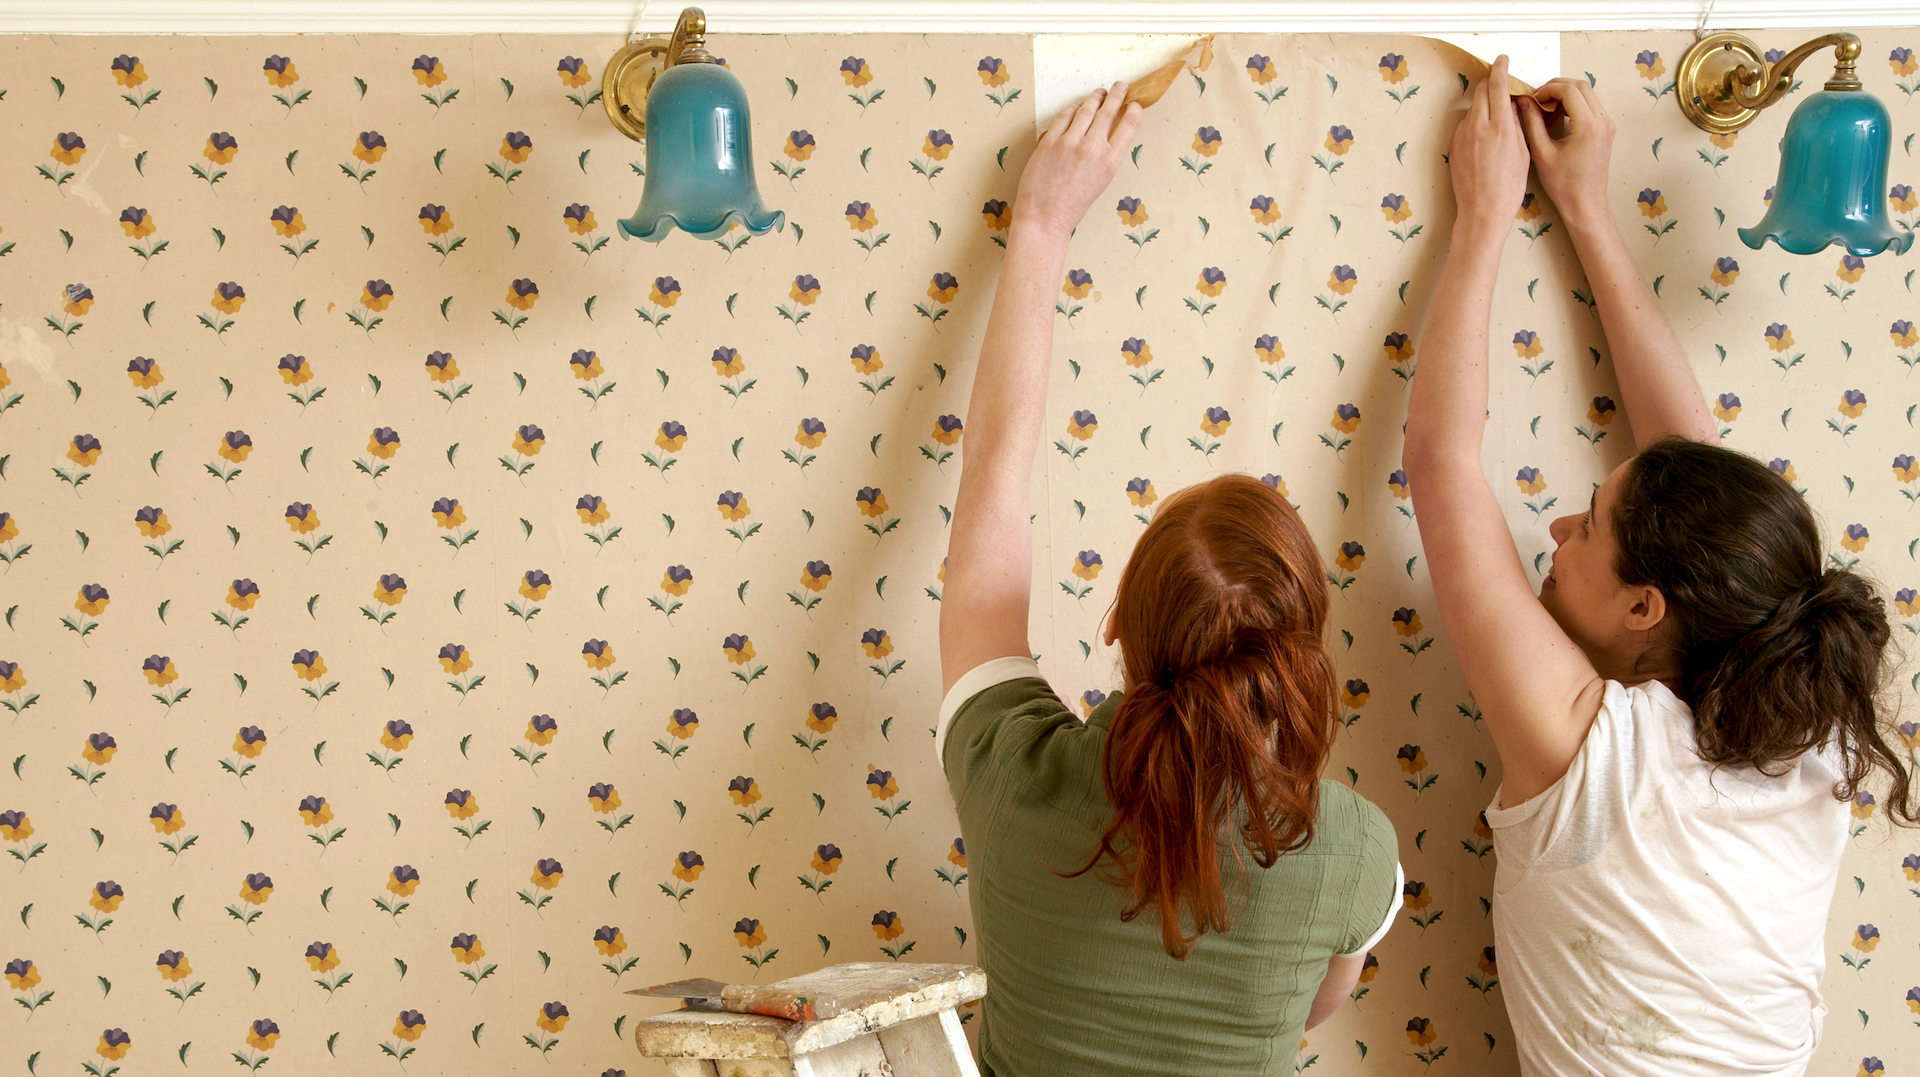
How do I remove wallpaper?
Learn how to safely remove wallpaper without damaging the wall.
Question:
I am planning on painting my bathroom, however it is covered in hideous wallpaper. What steps do I need to take in order to remove it without damaging the wall behind it?
Answer:
This is always one of the major obstacles for interior painting contractors, and there is quite a bit to know before you begin.
First, you must realize that there are 2 different types of wallpaper: paper-faced and vinyl-faced. These are exactly as they sound. The vinyl-faced wallpaper has a plastic feel to it and is impermeable to water and other solvents. Luckily, this type of wallpaper has been out of style since the 70s and is found in fewer and fewer homes.
Additionally, there are a couple of tactics that you should take to remove wallpaper. The first thing you should try is to just peel up a corner of a sheet and try to slowly remove the top layer of paper. If you are lucky, this top layer will come off in one sheet, leaving a layer of thin backing paper adhered to the wall with paste. This usually happens with expensive wallpapers. The cheap papers will usually tear off in little strips or not at all.
If the paper comes off in one big piece like described above, you are in luck. All you have to do is remove the top layers, then spray the remaining backing with a wallpaper paste dissolver like DIF (found at any home store or paint store). Once the backing is completely soaked, it will easily come off with a large scraper or knife.
If, however, your paper face rips into little pieces, you are in for a bit of a job. Determine if the paper is vinyl or paper-faced. If it is vinyl-faced, you will have to score the entire wall with a wallpaper score tool. This will poke tiny holes into the wallpaper face and allow the remover to soak into the backing. If it is paper-faced, proceed with the next step.
Using a garden sprayer or spray bottle, soak a good-sized section of the wall with wallpaper remover. As soon as you apply the remover, put a sheet of painter’s plastic film onto the wall. The liquid will adhere the plastic to the wall. The purpose of the plastic is to hold the remover on the wall and to keep it from evaporating. The worst thing that could happen at this point is for your remover to evaporate. This would cause the glue to reset and stick harder than before.
Let the remover soak into the wallpaper for at least 30 minutes. Continuously check to see if the paper is loosened. Add more remover to the wall if it starts to dry out.
Caution: If you let the remover soak for too long, it may seep into the drywall and loosen the drywall paper from the rock. This will result in serious wall damage and will make a lot more work for you in repairs. You need to let the remover soak just long enough to loosen the paste.
Once the paste is loosened, just scrape the paper off with a mud knife. Be careful not to gouge the walls though, as this will create more work for you.
Now that you have the wallpaper off, you are not quite ready to paint. If you paint now, the remaining glue will cause major problems with the paint’s adherence. The paint will likely fish-eye and flake off the wall. You must wash down the walls with a solution of wallpaper glue remover and water. Then when this is finished. You must prime the walls with an oil-based wall primer. Kilz will work perfectly. After all this, you can fill any gouges or chips and then you can paint as normal.
If this sounds like more than you bargained for, let us know. Our skilled painters have the experience to do this job right the first time and will probably save you money and time.